
Sealing your garage door with weather stripping is a simple and effective way to boost comfort and energy efficiency. It blocks drafts, moisture, and pests, helping maintain a consistent temperature inside. Closing gaps around your garage door reduces strain on heating and cooling systems, lowering energy bills. Pairing this with a professional garage door repair ensures everything stays in shape. Installing weather stripping is a straightforward process that makes a big difference.
Neglecting weather stripping can lead to problems like drafts that make your garage too hot in summer and too cold in winter, increasing your energy costs. Moisture can seep in, causing mold growth and damage to your belongings. Over time, this can weaken your garage’s structure. Small gaps also invite pests like insects and rodents, which can cause health risks and further damage.
Properly installed weather stripping keeps your garage well-insulated and extends the life of your garage door system by preventing unnecessary wear. If you need clarification on weather stripping, a garage door repair service can ensure everything is sealed perfectly.
Different Types of Weather Stripping
Weather stripping comes in various materials and designs, each suited for specific applications and conditions. Here are some common types:
Vinyl or PVC Weather Stripping
Vinyl or PVC weather stripping is an affordable and effective option for most residential garage doors. It’s flexible, making it easy to install without needing professional help. Plus, it’s tough against moisture and temperature changes, keeping your garage well-protected all year round.
Rubber Weather Stripping
Rubber weather stripping is a durable choice made from synthetic or natural rubber. It’s known for withstanding extreme temperatures and sealing gaps effectively. This option provides excellent insulation, helping to keep your garage comfortable and draft-free.
Foam Weather Stripping
Foam weather stripping is highly compressible and fits into tricky spots on your garage door. It conforms to uneven surfaces, making it ideal for sealing hard-to-reach areas. Often used with other types of weather stripping, it adds an extra layer of insulation to your garage.
Brush Weather Stripping
Brush weather stripping features tightly packed bristles that seal the bottom of your garage door. It effectively blocks drafts, dust, and tiny pests, allowing smooth door operation. This option is handy in windy areas or for cleaning your garage.
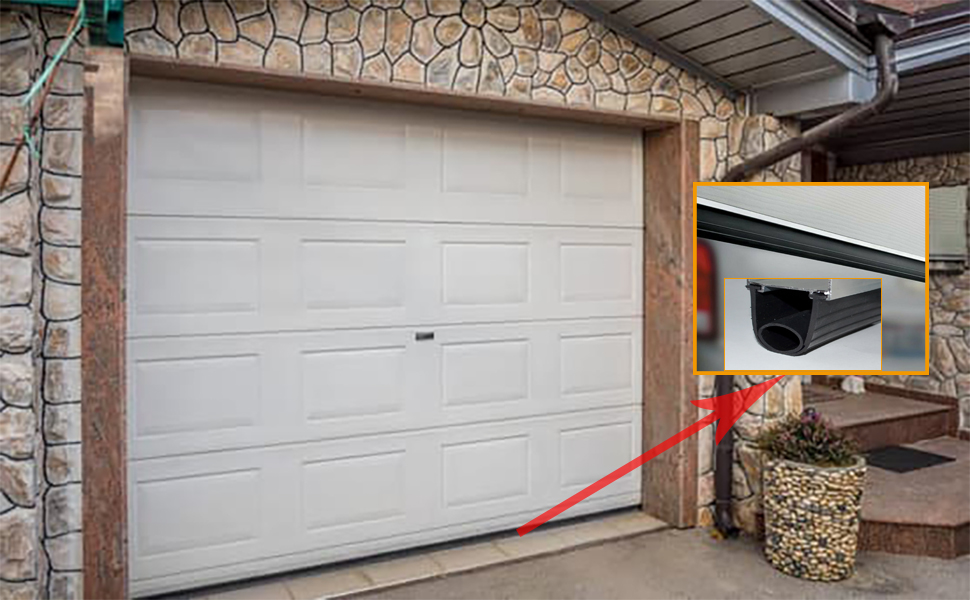
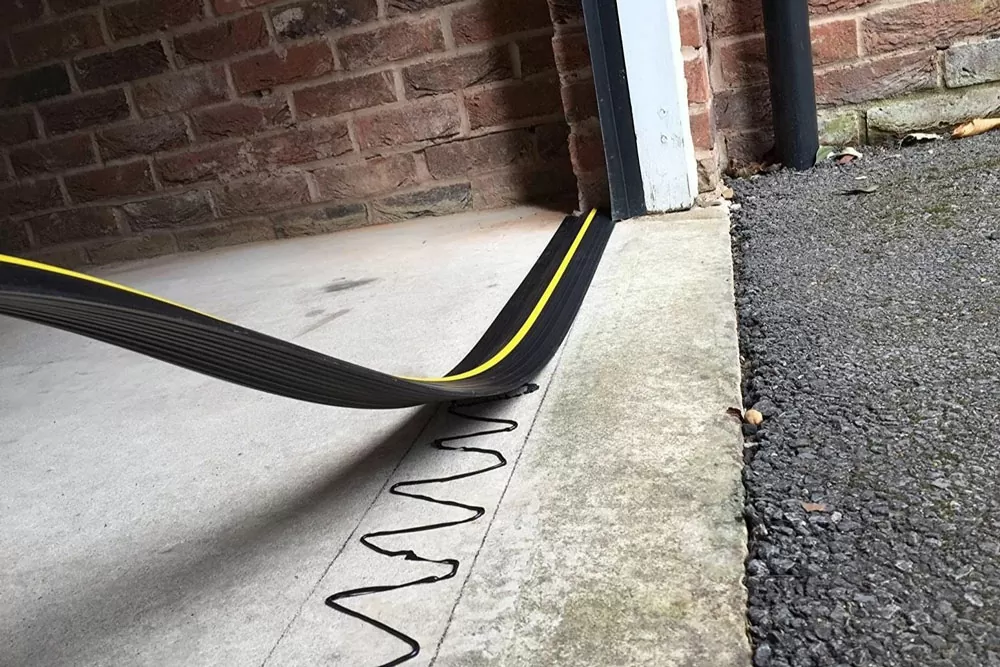
Threshold Seals
Threshold seals close the gap between your garage door and the floor, preventing water, dirt, and pests. They are made of rubber, vinyl, or aluminum and adjust to fit uneven surfaces. Adding a threshold seal gives your garage a secure, snug fit that enhances cleanliness and protection.
Tools and Materials Needed for Installing Weather Stripping
Before starting the installation process, gather the following tools and materials:
- Measuring tape
- Utility knife or scissors
- Cleaning supplies (degreaser, rags)
- Sandpaper or steel wool (for surface preparation)
- Primer (if recommended by the manufacturer)
- Caulk gun and appropriate caulk or sealant
- Ladder or step stool (if needed)
- Hammer or mallet
- Safety goggles and gloves
Preparing the Garage Door for Weather Stripping Installation
Proper preparation is essential for successful weather stripping installation. Follow these steps:
Clear the Area
Before you start, clear any obstructions or debris around the garage door to give yourself a clear workspace. This step is important to avoid any interruptions during the installation process. A clean area helps you work more efficiently and safely.
Inspect the Door
Look closely at your garage door and check for any existing weather stripping or seals. If you find any worn-out or damaged materials, remove them altogether. This inspection ensures that the new weather stripping fits appropriately and works effectively.
Clean the Surface
Grab a degreaser and some rags, and thoroughly clean the surfaces where the weather stripping will be installed. A clean surface is crucial for ensuring the weather stripping sticks properly. This step helps create a strong bond that will last longer.
Prepare the Surface
If needed, lightly sand or use steel wool to roughen the surface where you’ll apply the weather stripping. This preparation allows for better adhesion of the new materials. It’s a small but essential step to ensure everything stays in place securely.
Measure and Mark
Carefully measure the perimeter of your garage door, including the top, sides, and bottom. Mark these measurements directly on the door or make a quick diagram for reference during installation. Accurate measurements are key to a smooth installation and a perfect fit.
Step 1: Measure and Cut the Weather Stripping
Accurate measurements are essential for a proper fit and effective sealing. Follow these steps:
Measure the Top and Sides
Start by measuring the length of the top and sides of your garage door frame using measuring tape. Add a few extra inches to each measurement for overlap and trimming later. This additional length ensures a snug fit and makes the installation process smoother.
Measure the Bottom
Measure the width of the garage door’s bottom while paying attention to any irregularities or gaps in the floor surface. This step is crucial for getting an accurate fit that will seal the bottom of your door effectively. By accounting for these differences, you’ll prevent drafts and moisture from sneaking in.
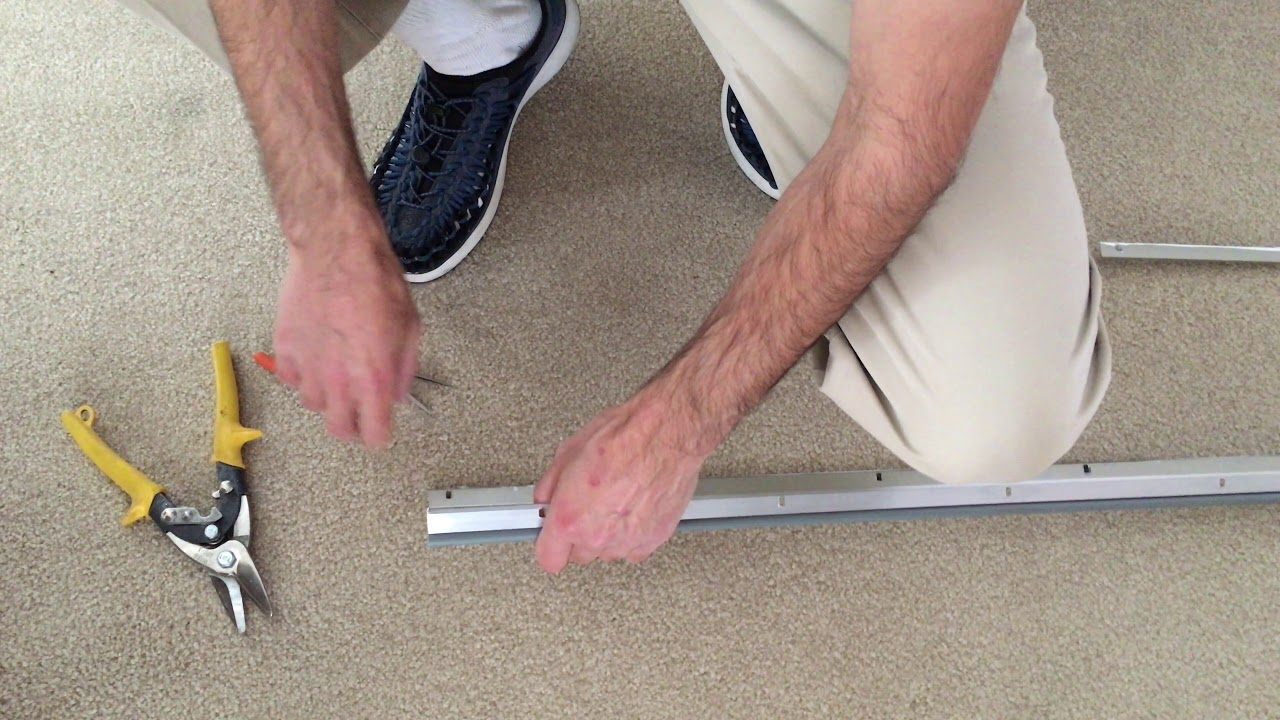
Cut the Weather Stripping
Take your weather stripping and carefully cut it to the measured lengths using a sharp utility knife or scissors. Make sure your cuts are clean and straight to achieve a professional-looking finish. Precise cutting ensures the weather stripping fits perfectly around your garage door.
Test Fit
Before you start installing, test fit each piece of weather stripping to check the alignment and fit. This is your chance to make any adjustments before permanently attaching them. A quick test fit can save time and prevent mistakes during the final installation.
Step 2: Clean and Prime the Garage Door
Proper surface preparation is crucial for ensuring long-lasting adhesion and performance of the weather stripping. Follow these steps:
Clean the Surface
Begin by thoroughly cleaning the surfaces where you’ll install the weather stripping. Use a degreaser or mild detergent and clean rags to remove any dirt, grease, or debris that could interfere with the adhesion. This cleaning step ensures the weather stripping sticks well and provides long-lasting protection.
Sand or Scuff the Surface (If Necessary)
If your garage door surface is smooth or glossy, it’s a good idea to lightly sand or scuff it with fine-grit sandpaper or steel wool. This creates a slightly rough texture, which helps the weather stripping adhere more securely. Taking the time to do this simple step can make a big difference in how well the weather stripping stays in place.
Apply Primer (If Recommended)
Some types of weather stripping require a primer for the best results, so check the manufacturer’s instructions. If a primer is recommended, apply it evenly to the cleaned and prepped surfaces and allow it to dry completely before moving on. This extra step helps ensure the weather stripping bonds effectively, providing a strong and durable seal.
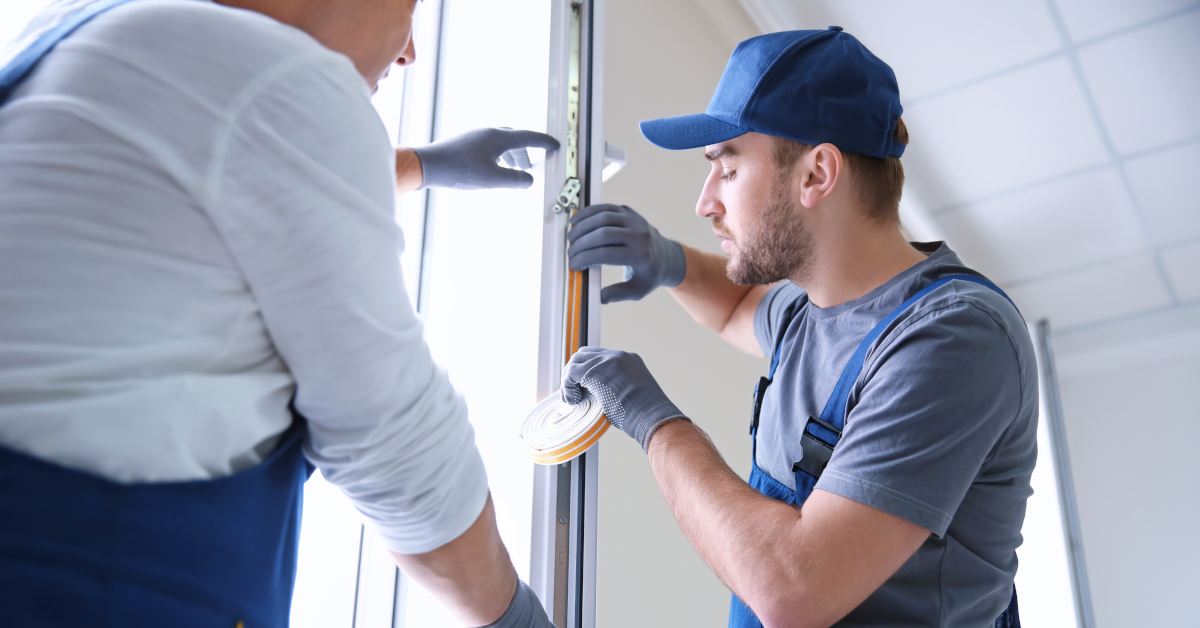
Step 3: Attach the Weather Stripping to the Garage Door
With the weather stripping cut to size and the garage door prepared, it’s time to begin the installation process. Follow these steps:
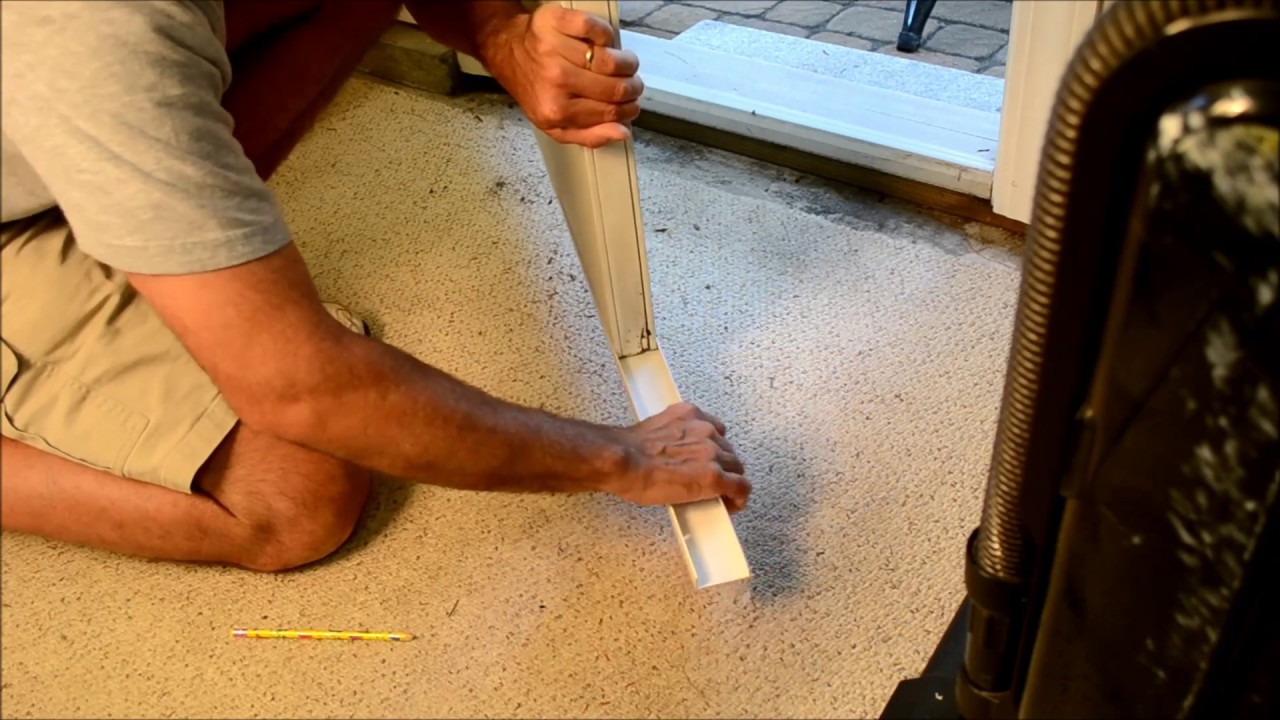
Start with the Top and Sides
Begin by installing the weather stripping along the top and sides of the garage door frame. Take your time to carefully align the weather stripping, making sure it fits snugly against the door. Press it into place to create a tight seal and achieve a smooth, professional finish.
Use a Caulk Gun or Adhesive
For certain types of weather stripping, you may need to apply a bead of caulk or adhesive before pressing it into place. Follow the manufacturer’s instructions for your product to ensure the best results. This step helps to secure the weather stripping more firmly, providing a long-lasting seal.
Secure the Weather Stripping
Depending on the type of weather stripping, you may need to use nails, staples, or even a hammer and wood blocks to secure it in place. Handle the weather stripping carefully to avoid any damage or distortion during this process. Properly securing it ensures that the weather stripping stays in place and functions effectively.
Install the Bottom Weather Stripping
You’ll likely need to install a threshold seal or brush weather stripping on the bottom of the garage door. Follow the manufacturer’s instructions closely to ensure a proper fit and a tight seal against the floor. This helps to keep out drafts, moisture, and pests, giving your garage extra protection.
Trim Any Excess
After the weather stripping is securely placed, use a sharp utility knife or scissors to trim any excess material. This final touch ensures a clean, polished look for your garage door. Proper trimming improves the appearance and enhances the effectiveness of the weather stripping.
Step 4: Test the Weather Stripping for Proper Installation
After completing the installation, it’s essential to test the weather stripping to ensure it’s functioning correctly. Follow these steps:
Open and Close the Garage Door
After installing the weather stripping, open and close the garage door a few times to observe how it moves. Pay close attention to ensure it doesn’t get caught or bind during operation. This step helps confirm that the weather stripping is aligned correctly and won’t interfere with the door’s movement.
Check for Gaps or Leaks
Carefully inspect the edges of the garage door, looking for gaps or places where air leaks. You can use a flashlight to see if the light is coming in or run your hands along the edges to feel for drafts. Identifying these gaps is crucial to ensuring your garage door is fully sealed and energy-efficient.
Adjust or Reseal as Needed
If you spot any gaps or areas where the weather stripping isn’t sealing correctly, take the time to make adjustments. This might mean repositioning the weather stripping, trimming it to fit better, or reapplying sealant or adhesive. These minor fixes can significantly affect how well your garage door is insulated and protected.
Perform a Final Inspection
Once all adjustments are made, do a final walkthrough to inspect the weather stripping. Ensure everything is installed correctly and the weather stripping is functioning as intended. A thorough final check ensures your garage door is fully sealed and ready to keep out the elements.
Maintaining and Replacing Weather Stripping
Even with proper installation, weather stripping on your garage door can wear down over time due to exposure to the elements and regular use. Regular maintenance and timely replacement are essential for continued protection, energy efficiency, and ensuring your garage door repair needs are minimized. Here are some tips for maintaining and replacing weather stripping:
Inspect Regularly
Make it a habit to inspect your weather stripping regularly, checking for any signs of wear, cracks, or gaps. Pay extra attention to areas that see a lot of traffic or are exposed to direct sunlight and moisture. Regular inspections help catch issues early, ensuring your garage door stays well-sealed.
Clean and Lubricate
Keep your weather stripping in good condition by gently cleaning it with a mild detergent and water solution. If you have vinyl or rubber weather stripping, consider applying a silicone-based lubricant to keep it flexible and prevent it from sticking or binding. Regular cleaning and lubrication extend the life of your weather stripping and maintain its effectiveness.
Repair or Replace as Needed
If you notice any significant wear or damage, it is essential to repair or replace the weather stripping promptly. Depending on the extent of the damage, you can either replace individual sections or opt for a total replacement. Addressing these issues quickly ensures that your garage door continues to provide a tight seal.
Consider Seasonal Replacements
Replacing weather stripping seasonally in regions with extreme temperature changes might be a good idea. For example, using a more rigid material during the winter and switching to a flexible option in the summer can improve the weather stripping’s performance. This seasonal approach helps maintain a better seal throughout the year.
Follow Manufacturer Recommendations
Always refer to the manufacturer’s guidelines for maintenance and replacement intervals for your specific weather stripping product. Following these recommendations ensures you take the best care of your weather stripping, which helps keep your garage door well-sealed and energy-efficient.
FAQs on How to Install Weather Stripping on a Garage Door
How is weather stripping installed?
Installing weather stripping is pretty simple. First, measure the area where it needs to go, like around a door or window, to get the right length. Then, cut the weather stripping to fit. Peel off the backing to reveal the adhesive and press it along the edge, ensuring it sticks well. This quick fix helps keep out drafts and makes your home more energy-efficient.
How do you install weather stripping adhesive on a door?
To install weather stripping adhesive on a door, start by cleaning the area where you’ll place it. Measure and cut the weather stripping to fit the door’s edges. Once that’s done, peel off the adhesive backing and carefully press the strip along the door frame. Make sure it’s snug to block out drafts and moisture. It’s an easy way to make your home more comfortable and save on energy bills.
How do you fix weather stripping on the bottom of a garage door?
Fixing the weather stripping on the bottom of your garage door is more accessible. First, remove the old strip if it’s worn out. Clean the area to get rid of dirt and debris. Then, cut the new weather stripping to match the width of your new garage door. Slide it into the groove at the bottom or use adhesive if needed. This small step can make a big difference in keeping your garage dry and pest-free.
What is a garage door weather strip?
A garage door weather strip is a simple yet effective tool for sealing the edges of your garage door. It’s usually made of rubber, vinyl, or foam and placed along the bottom and sides of the door. The weather strip helps keep out wind, rain, dust, and pests, making your garage more comfortable and energy-efficient.
How do you install a weather sweep on a door?
Installing a weather sweep on a door is a quick and easy way to block drafts. First, measure the door’s width and cut the sweep to fit. Then, align the sweep at the bottom of the door. You can either screw it in place or use the adhesive backing if it has one. Make sure it touches the floor to keep out cold air and moisture. This little upgrade can help keep your home cozy and energy-efficient.
Conclusion
Protecting your garage and home is easier than you think, especially regarding weather stripping. By sealing your garage door, you’re not just keeping out drafts, moisture, and pests but also making your home more energy-efficient and comfortable. At BH Door and Gates, we know how important it is to keep your garage door in top shape, and we’re here to help you every step of the way. Whether you’re figuring out how to install weather stripping on a garage door or need expert advice, we’ve got you covered.
Teaming up weather stripping with a good garage door repair can ensure your garage door works smoothly and stays in excellent condition all year round. As your trusted garage door contractor, we’re dedicated to providing top-notch services that keep your home safe from the elements and those pesky critters. Don’t let small gaps turn into big problems. Let us help you seal your garage door like a pro so that you can enjoy a cozy, energy-efficient space season after season.
End Note
At BH Doors and Gates, we take pride in offering top-notch service backed by years of experience and a commitment to quality. Whether you’re looking for a new garage door, need repairs, or require maintenance, our team is here to ensure your home stays secure and stylish.
We serve a wide range of areas, and our expert technicians are just a call away, ready to provide personalized solutions that fit your needs and budget. To learn more about our services or catch up on industry tips, check out our blog for the latest insights. When you’re ready to take the next step, visit our contact page to schedule a consultation or ask any questions. Your perfect garage door is just a click away!
With BH Doors and Gates, you’re not just getting a service; you’re partnering with a team that values your satisfaction and safety. Explore our website to discover more about how we can transform your home today!